





ESBE CRx Controllers: Installation FAQ & Answers
2026-09-28

Need help installing an ESBE CRx controller? This guide, based on insights from ESBE's technical support, covers correct actuator positioning, automatic mode, compatibility with older valves and where to find technical documentation for CRA200, CRB200, CRC200 and CRD200 controllers.
How do I know if the ESBE actuator is positioned correctly on the valve?
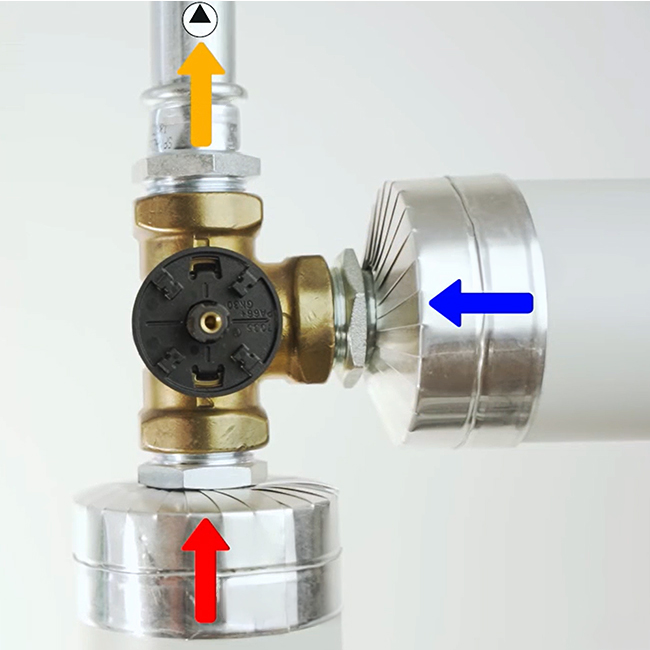
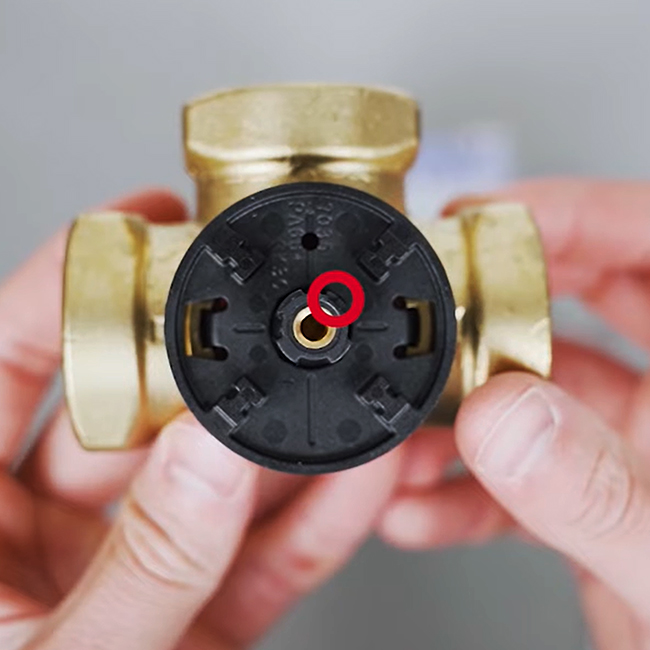
To ensure that an ESBE controller in the CRx series is positioned correctly on the valve, both the valve and the actuator must be set to the middle position, 50% open during installation. Here, the valve is 50% open and the chamfer is positioned at 45° between the hot and cold water ports.
How does automatic mode work?
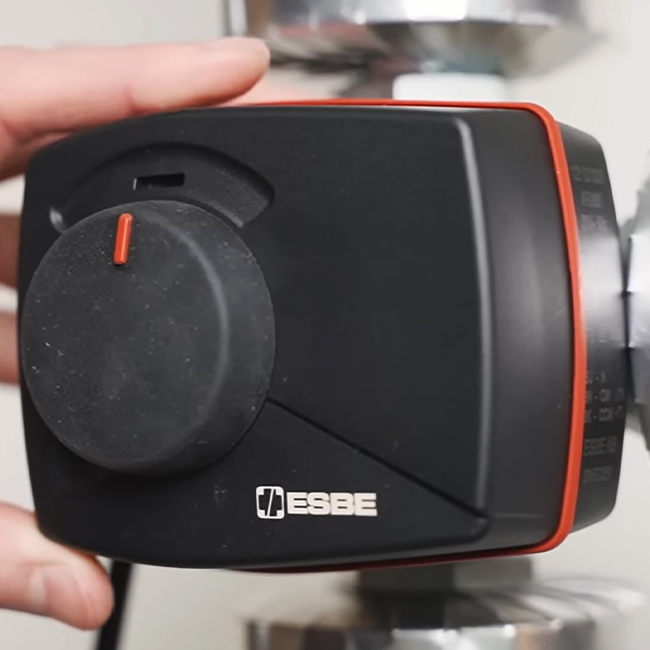
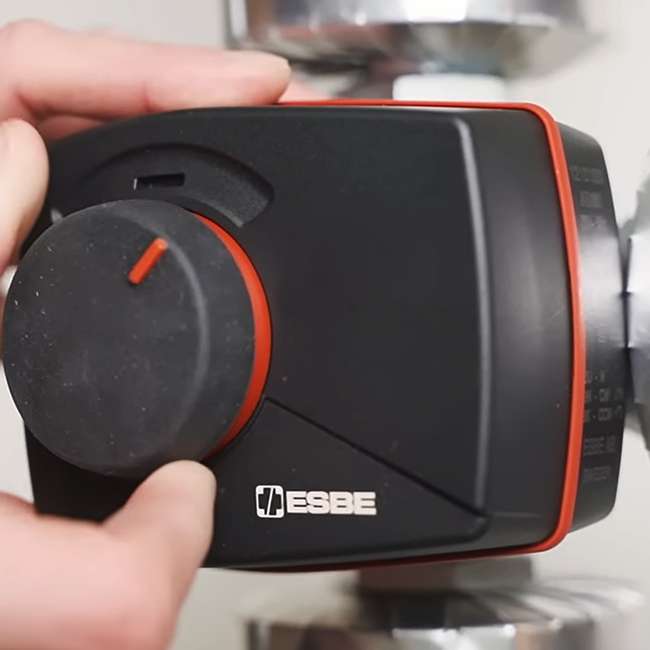
In automatic mode, an ESBE CRx controller manages everything completely automatically! It reads the sensors (supply, outdoor, and/or indoor depending on the model) and continuously adjusts the actuator to maintain your desired temperature. You can easily switch between manual mode and automatic mode by pulling out the knob on the actuator until you see a red edge at the base.
Can I use the ESBE CRx series with older valves?
Yes. ESBE CRx controllers can be installed on older four-bolt valves using the ESBE ARA803, part no. 16000500 . The kit includes the adapters, M8 screws (center/mounting screws), position scales, and M5 screws (corner screws) required to secure the actuator properly to the valve body.
Where can I find more technical documentation?
You can find manuals, wiring diagrams, and instructional videos directly on ESBE's product pages for controllers and at ESBE Support and FAQ.
Related videos:
👉 Watch: How to position an ESBE CRx controller correctly on the valve